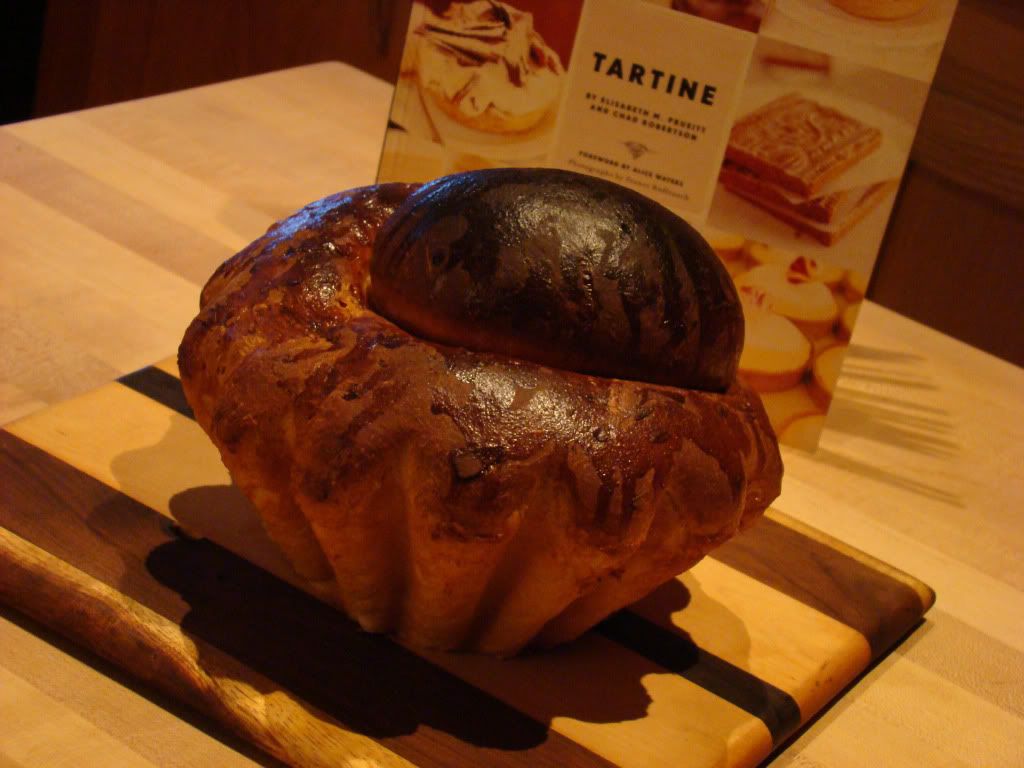
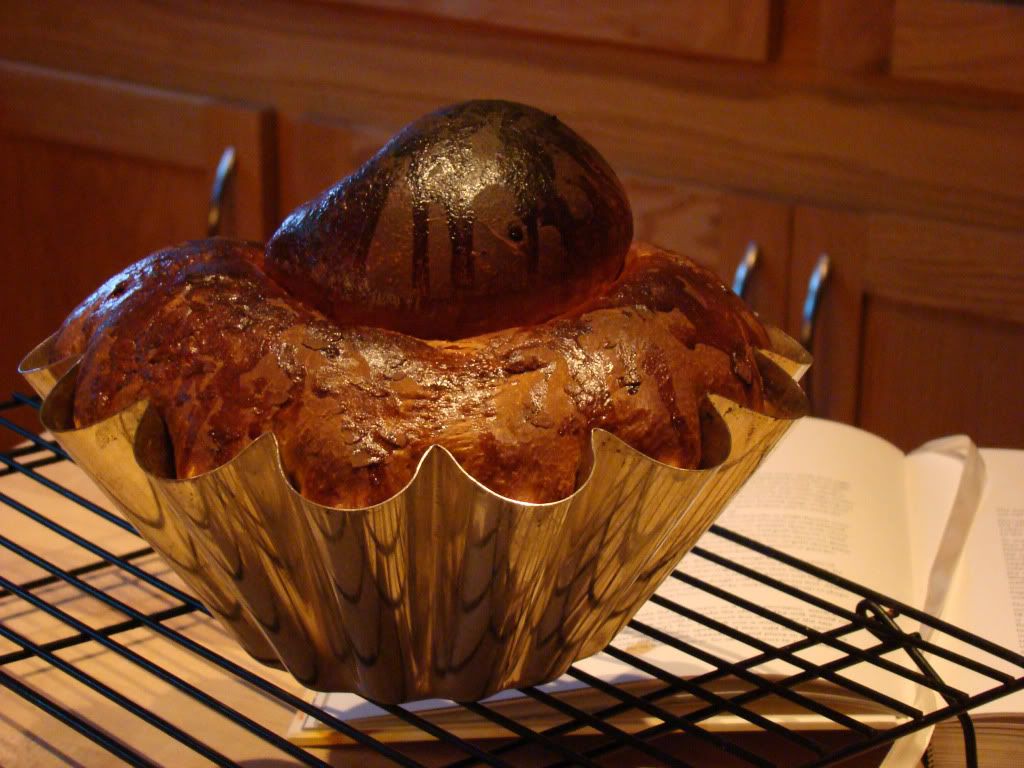
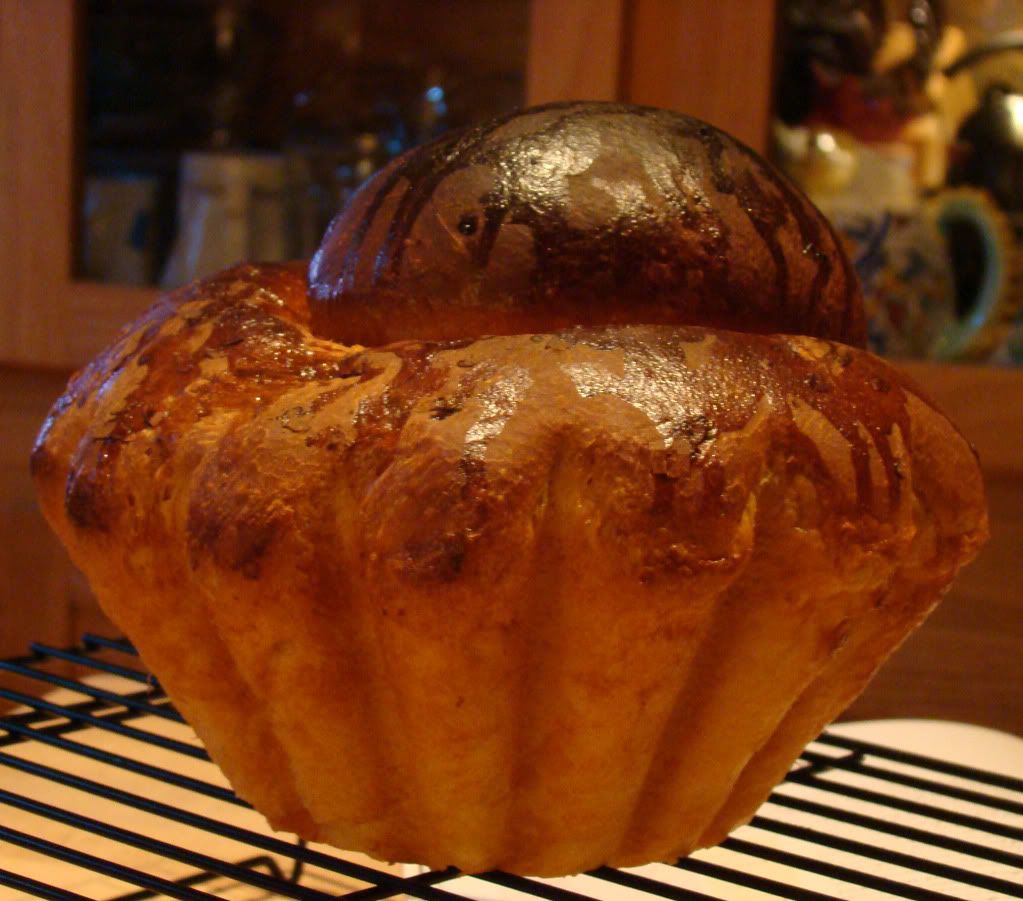
Tartine's Brioche

This brioche is perfection.
It requires time, and you will come to appreciate just what a workhorse the Kitchen Aid mixer is (mine had to go in for the motor's works to have the grease repacked after this effort), but the product that comes out of your oven is so worth it.
Ingredients for preferment:
1/4 cup nonfat milk
2 teaspoons active dry yeast
1 1/4 cups bread flour (8 1/4 ounces)
Ingredients for the dough:
2 T and 1 teaspoon active dry yeast
5 large eggs
1 1/4 cups whole milk
3 1/2 cups bread flour
1/4 cup sugar
1 T salt
1 cup + 2 T unsalted butter, chilled but pliable
Ingredients for egg wash:
4 large egg yolks
¼ cup heavy cream
pinch of salt
Preparing the preferment:
Warm the milk only enough to take the chill off. The milk should not be warm or cold to the touch but in between the two (80-90 degrees F). Pour the milk into a mixing bowl, sprinkle the yeast over the milk, stir to dissolve the yeast with a wooden spoon, and then add the flour, mixing with the spoon until a smooth batter forms. Cover the bowl with cheesecloth and place in a cool, draft-free area for 1 hour and then refrigerate for at least 1 hour or for up to 3 hours to cool down. The mixture will rise until doubled in volume and not yet collapsing.
Preparing the dough:
Measure all the ingredients for the dough. Once you measure the butter, cut into cubes and return the eggs, milk and butter to the refrigerator to chill.
To make the dough, transfer the preferment and then the yeast to the large bowl of a stand mixer fitted with the dough hook. Mix on low speed until the yeast is incorporated into the preferment batter, which will take a minute or two. Stop the mixer as needed and use a spatula to clean the bottom and sides of the bowl, folding the loosened portion into the mixture to incorporate all the elements fully. When the mixture has come together into an even, well-mixed mass, begin to add the eggs one by one, increasing the mixer speed to medium or medium-high to incorporate the eggs and stopping the mixer and scraping down the sides of the bowl as needed.
Once all the eggs are incorporated, reduce the mixer speed to low and begin slowly to add 1 cup of the milk. When the milk is fully incorporated, stop the mixer and add the flour, sugar and salt. Engage the mixer again on low speed and mix until the dry ingredients are incorporated, about 3 minutes. Increase the speed to medium-high and mix until you see a dough forming and it starts to come away cleanly from the sides of the bowl, 2 to 3 minutes.
Turn off the mixer and let dough rest for 15 to 20 minutes. While the dough is resting, place the chilled butter cubes into a separate mixer bowl. Fit the mixer with the paddle attachment and mix the butter on medium speed until the cubes are pliable but not soft and are still chilled.
Remove the bowl holding the butter from the mixer and replace it with the bowl holding the now-rested first-stage dough. Refit the mixer with the dough hook and begin mixing on medium speed. When the dough again starts to come away cleanly from the sides of the bowl, increase the speed to medium-high. At this stage the dough will appear very silky and elastic. With the mixing speed still on medium-high, add small amounts of the butter, squeezing the cubes through your fingers so that they become ribbons as they drop into the bowl. Stop the mixer to clean the bottom and sides of the bowl as needed with the spatula. Make sure that you don’t add too much butter too quickly and also make sure that you don’t mix the butter too long after each addition or you will heat up the dough. When all the butter has been added, allow the mixer to run for another 2 minutes to make sure the butter is fully incorporated. The dough should still be coming away cleanly from the sides of the bowl at this point.
Slowly add the remaining 1/4 cup milk in increments of 1 tablespoon and increase the mixer speed to high. Mix until the dough is very smooth and silky and continues to pull cleanly away from the sides of the bowl. This should take another 2 minutes.
Lightly oil a large baking sheet. Spread the dough evenly on the prepared pan. Dust the top lightly with flour and cover with cheesecloth. Put the pan in the freezer for at least 3 hours and then transfer to the refrigerator overnight.
Brush three 9-inch by 5-inch loaf pans with melted butter. Remove the chilled dough from the refrigerator and place on a lightly floured work surface in a cool kitchen. Divide the dough into 3 equal portions. Press each portion into a rectangle the length of a loaf pan and slightly wider than the pan. Starting from a narrow end, roll up the rectangle tightly, pinch the ends and seam to seal, and place seam side down in a prepared pan. The pan should be no more than one-third full. The dough increases substantially during rising, and if you fill the pan any fuller, the brioche will bake up too large for the pan. When the pans are filled, place them in a draft-free area with relatively high humidity. Let rise for 2 to 3 hours. During this final rising, the brioche should at least double in size and look noticeably puffy but still be resilient to the touch.
Preheat the oven to 425 degrees F for at least 20 minutes before you want to begin baking. About 10 minutes before you want to begin baking, make the egg wash: whisk together the yolks, cream and salt until you have a pale yellow mixture. Using a pastry brush, brush the wash on tops of the loaves. Let the wash dry for about 10 minutes before baking.
Place the loaves in the oven and bake for 15 minutes. Reduce the temperature to 350ºF and bake until the loaves are a uniformly dark golden brown on the bottom, sides and top, about 45 minutes longer. Remove the pans from the oven, immediately rap the bottoms on a tabletop to release the loaves, and then turn the loaves out onto wire racks to cool. The loaves can be eaten warm from the oven or allowed to cool and eaten within the day at room temperature or toasted. If you keep them longer than a day, wrap them in plastic wrap or parchment paper and freeze them indefinitely.
Makes 3 1-1/4 lb. loaves


0 comments:
Post a Comment